Setting Up BLTouch on infitary M508
**General note I take no responsibility for any damage that may occur to you in this implementation. This is how I configured it but no guarantees.So levelling is a pain, so I thought this is one problem that needs to be fixed.
Bought the Clone BLtouch from aliexpress... seemed fine but comes with lots of parts like dupon connectors. Which means you will need a crimping tool to put it together.
The other part you need is an extension for the 5 cables coming out of the BLTouch, the ones that come with the BLtouch are incredibly short.


Additional stuff you need to product;
* Crimping tool
* Additional wires
And depending on how good your crimping skills are you might need additional dupon connectors.
Alternatively you could just by a 2pin to 2pin (Black and White) cable with the 2piece dupon connectors attached and another 3pin to 3pin (Orange, Red & Brown) cable with the 3 piece dupon connectors.
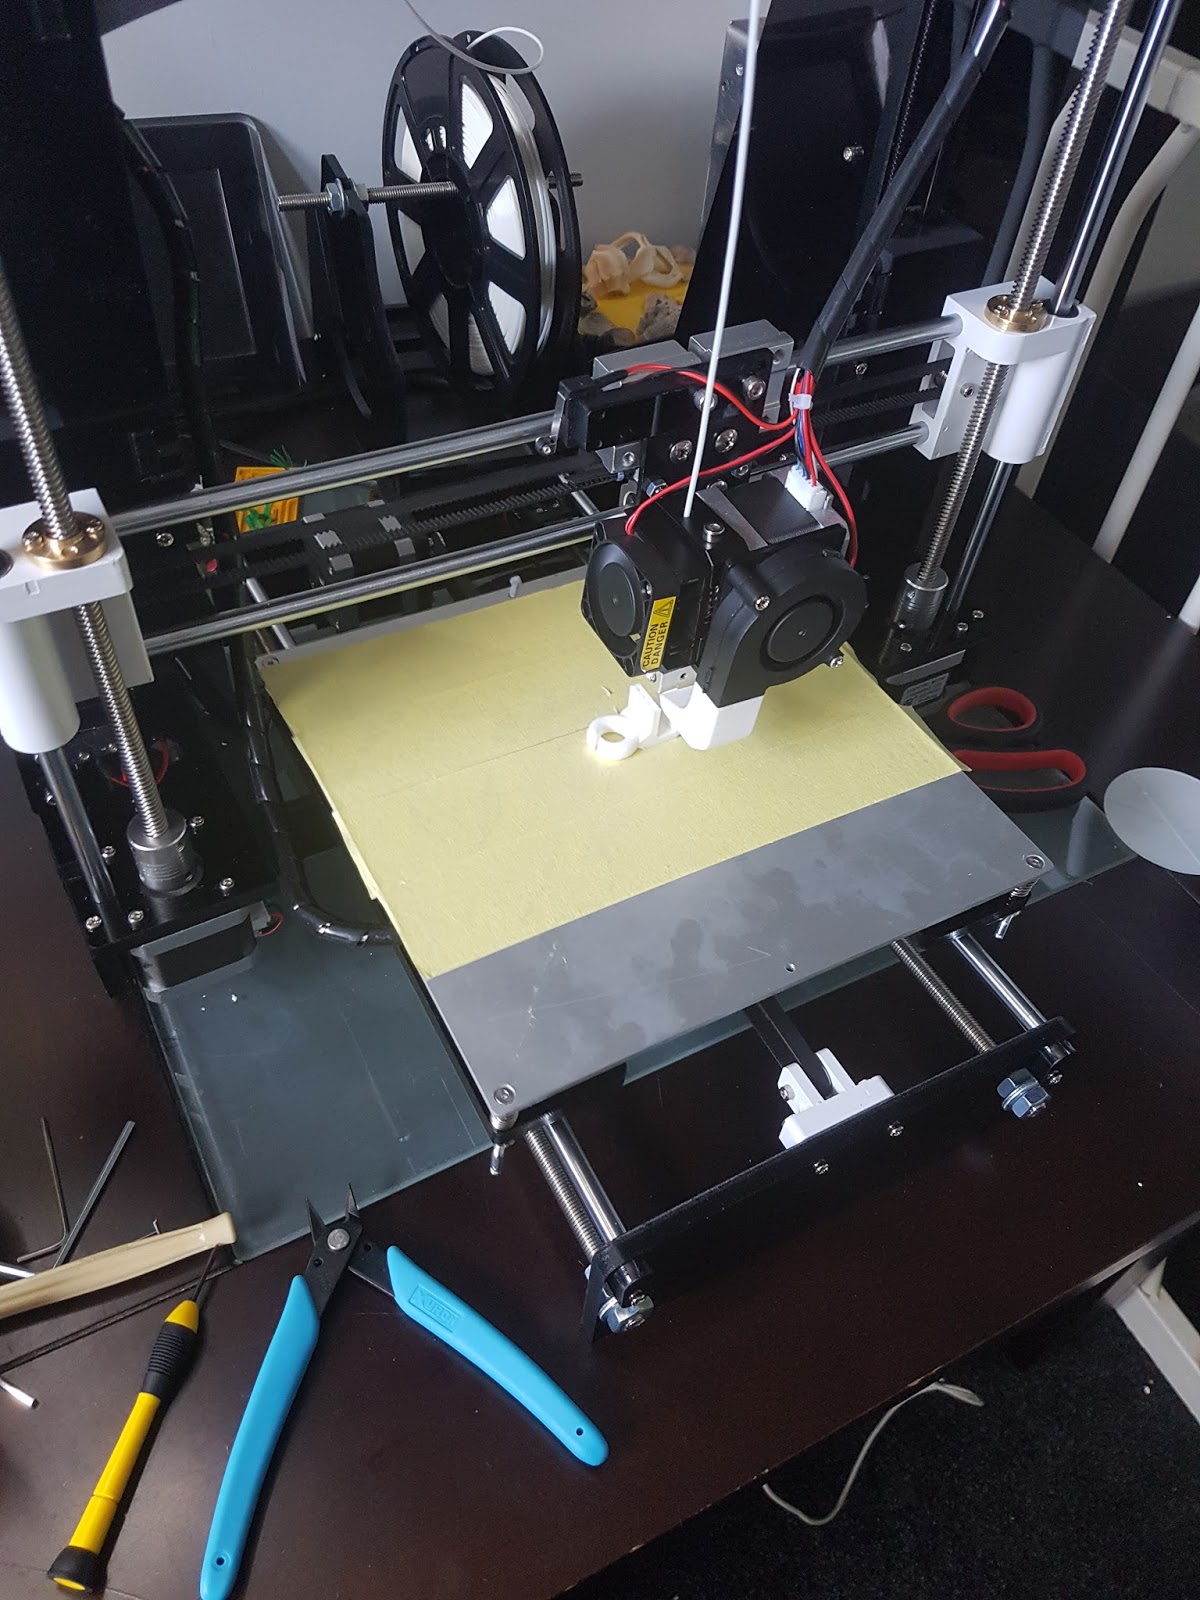
Mount for the BLtouch
I took an existing mount from thingiverse, but that didn't really work well as it was too high according to the spec.
So I modified the shape on blender. You can find it here. (Thingy item 2459032)


Wiring diagram
First things first. I spent hours trying to figure out how to connect this to the M508. The board looks like this; (BTW this seems to be the same board as the Alunar)
You don't really need the brown GND, but I added it for good measure.
For this you need to disconnect the Z-Min sensor. You are replacing it with the bltouch.
DONT AUTO HOME until you upload firmware.
So where you should be up to now is that the red light on the bltouch comes on and does 2-3 ins and outs, but will really not be able to do anything.
Changes to Marlin Firmware
You will need Arduino IDE for this next bit.The version of marlin I ran this on was 1.1.4. The versions seem to be very different so can't guarantee this will work on a newer version.
Overall, download the latest release (or if you can find it 1.1.4)
The following is what I changed. Will also put my firmware here but I use PETG filament so the ABS Settings are off.
Once you downloaded the firmware, open up the zip file somewhere.
Replace the configuration.h and configuration_adv.h in the marlin directory with the files from the example_configurations for the Infitary-i3-M508.
Now open the marlin.ino file and it should load up the arduino IDE.
***First off the default this board is defined as a RAMPS 1.3 board (whatever that means)
#define MOTHERBOARD BOARD_RAMPS_13_EFB
This is on its own right is not a problem. If you follow the chain of files to the pins_RAMPS.h you will find this;
#ifdef IS_RAMPS_13 //This was defined in a different file...The problem here is that any default configuration you enable for the BLTouch will expect you to use pin 11 (SERVO0). The BTN_EN2 is not shared with this pin on the M508 so I changed it to PIN 11
#define SERVO0_PIN 7 // RAMPS_13 // Will conflict with BTN_EN2 on LCD_I2C_VIKI
#else
#define SERVO0_PIN 11
#endif
#ifdef IS_RAMPS_13
#define SERVO0_PIN 11 // RAMPS_13 // Will conflict with BTN_EN2 on LCD_I2C_VIKI
#else
#define SERVO0_PIN 11
#endif
Now go and edit the configuration.h file with the BILINEAR leveling;
All the settings below are settings that were changed from the Marlin 1.1.4 configuration.h file. The rest I just omitted to avoid complexity.
//===========================================================================
//============================== Endstop Settings ===========================
//===========================================================================
#define Z_MIN_ENDSTOP_INVERTING false
#define Z_MIN_PROBE_ENDSTOP_INVERTING false
//===========================================================================
//============================= Z Probe Options =============================
//===========================================================================
#define Z_MIN_PROBE_USES_Z_MIN_ENDSTOP_PIN
#define Z_ENDSTOP_SERVO_NR 0 // Defaults to SERVO 0 connector.
#define Z_SERVO_ANGLES {10,90} // Z Servo Deploy and Stow angles (10,90) is for BLTOUCH.
#define BLTOUCH
#if ENABLED(BLTOUCH)
#define BLTOUCH_DELAY 1000 // (ms) Enable and increase if needed
#endif
//SET FOR BLTOUCH - WHERE IS THE PROBE COMPARED TO THE NOZZLE
#define X_PROBE_OFFSET_FROM_EXTRUDER -25 // X offset: -left +right [of the nozzle]
#define Y_PROBE_OFFSET_FROM_EXTRUDER -45 // Y offset: -front +behind [the nozzle]
#define Z_PROBE_OFFSET_FROM_EXTRUDER -2 // Z offset: -below +above [the nozzle]
//originally 205 but m508 can go to 215 (Not related to bltouch)
#define X_MAX_POS 214
#define Y_MAX_POS 214
//===========================================================================
//=============================== Bed Leveling ==============================
//===========================================================================
#define AUTO_BED_LEVELING_BILINEAR
//SET FOR BLTOUCH - CHECK ON PRINTER FIRST TO BE SURE
#define LEFT_PROBE_BED_POSITION 34
#define RIGHT_PROBE_BED_POSITION 180 //Bed Max X - Left probe
#define FRONT_PROBE_BED_POSITION 55
#define BACK_PROBE_BED_POSITION 159 //Bed Max Y - Front probe
//SET FOR BLTOUCH TO AVOID DAMAGE TO PRINTER! Sensor will be above bed.
#define Z_SAFE_HOMING
#if ENABLED(Z_SAFE_HOMING)
#define Z_SAFE_HOMING_X_POINT ((X_MIN_POS + X_MAX_POS) / 2) // X point for Z homing when homing all axis (G28).
#define Z_SAFE_HOMING_Y_POINT ((Y_MIN_POS + Y_MAX_POS) / 2) // Y point for Z homing when homing all axis (G28).
#endif
//=============================================================================
//============================= Additional Features ===========================
//=============================================================================
#define EEPROM_SETTINGS // Enable for M500 and M501 commands - Allows you to save BLTouch Z offset
#if ENABLED(EEPROM_SETTINGS)
// To disable EEPROM Serial responses and decrease program space by ~1700 byte: comment this out:
#define EEPROM_CHITCHAT // Please keep turned on if you can.
#endif
//SET FOR BLTOUCH - still not sure why 3?
#define NUM_SERVOS 3 // Servo index starts with 0 for M280 command
#define DEFAULT_NOMINAL_FILAMENT_DIA 1.75 // (mm) Diameter of the filament generally used (3.0 or 1.75mm), also used in the slicer. Used to validate sensor reading. - I fixed this while I was at it. It was set to 3.0mm when I use 1.75mm
The Z_PROBE_OFFSET_FROM_EXTRUDER settings will most likely need to be adjusted as part of levelling calibration process.
Hopefully, if everything went well you can compile. If successful you can now upload the file.
Connect your device via USB it should come up as a new com port.
Change the board and processor under "tools" menu;
Board should be "Arduino\Gemuino Mega or Mega 2560"
Processor should be "ATmega2560 (Mega 2560)"
Now upload (CTRL+U). It will compile then upload. Don't disturb it. If it fails to upload, try again.
Testing
On whatever tool you have that can run serial commands to the printer run these. (I use octoprint)
Under the Terminal type; (Don't type the ; and comments after it:))
M280 P0 S10 ; pushes the pin down M280 P0 S90 ; pulls the pin up M280 P0 S120 ; Self test – keeps going until you do pin up/down or release alarm M280 P0 S160 ; Release alarm
M119 ;shows status of x,y,z min they should all be open.
M280 P0 S60 ;Puts the the BLTouch in test mode dont skip this test.
M119 ;Take note that everything is "open"
Now push the pin upwards, should be a very light touch and not hard. The light should come on.
If your BLtouch is like mine, it will push the pin down again in a few seconds.
Before it pushes the pin down, put in the M119 again.
You should see Z_Min triggered. If it isn't something has gone wrong, and it is way to hard to tell you where. Could be wiring, could be firmware... try narrowing it down. You shouldn't need the resistors or anything else.
First calibration
So we are nearly there. Need now to make sure that the nozzle is nearly touching the heat bed when the Z is zeroed.
For this next step have you finger over the power button to shut it off if it doesn't go as expected. What I mean is that if the BLTouch isn't working as expected the auto-homing will push the nozzle into the bed and potentially damage something!
Go back to the terminal and type;
M851 ; this should give you the item I highlighted in orange a while back
G28 ; home - FINGER OVER POWER BUTTON!
G1 Z0 ; this will set the nozzle at Z0 at least what it thinks is 0.
If the nozzle is too high above the bed then the Z_PROBE_OFFSET_FROM_EXTRUDER needs to be a lower number (e.g. -2.5 instead of -2). If it's pushing into the bed, then it needs to be larger (-1.5 instead of -2).
To figure out how much to put in, you will need a number that slightly digs in the bed (should push the springs) and play with the Z on the actual m508 (under prepare), move it up till you have a figure (e.g +0.2mm)
Let's say the figure I had was -2 from M851. Now I need to add the 0.2mm, this should give me a figure to put in = -1.8
To change the z offset programmatically you can type in; Have a piece of thin a4 paper under the nozzle.
M851 Z-1.8G28 ; homeG1 Z0 ; this will set the nozzle at Z0 at least what it thinks is 0.If the paper is slightly hard to move but still moves under friction of the nozzle, you are good to go. If not, keep adjusting the M851 Z value till it does.
Once you are done commit to memory (EEPROM). Type in the terminal
M500 ; commit to memory
Autoleveling the bed
Now in the menu do prepare->bed levellingor type G29 from the terminal. It should measure 9 points across the bed. (these points probably need tweaking but for now that should be fine)
G29 in startcode
Make sure to do a leveling command at the beginning of each print (this is not a must, but good measure)I use Slic3r and I put it in the "Printer Settings->Custom G-code"
After G28 on the next line put in G29
Printing a test print
Use this to test the calibration and auto bed levelling is workinghttps://www.thingiverse.com/thing:29028/#files
Issues encountered
This thing burned up a weekend nicely.First off where to connect was painful, then the fact that it wasn't listening to commands from the firmware. This was caused by the pins_RAMPS.h file using the wrong port!!!!
After figuring that one out when I hit auto-home it would keep on pushing the heat plate and not stopping.
It ended up being a mistake I made in the firmware. I forgot to add #define Z_MIN_PROBE_ENDSTOP_INVERTING false
was set as true while I did setup Z_MIN_ENDSTOP_INVERTING as false. This is a must.
Overall its now working. Time will tell how well it actually works. Might have to monitor start of prints for a while.